Tutorial
How to get started
To get started you have to include the circuitikz library to your latex file. this can be done by importing the following command:
\usepackage{ circuitikz }
How to add componet to canvas
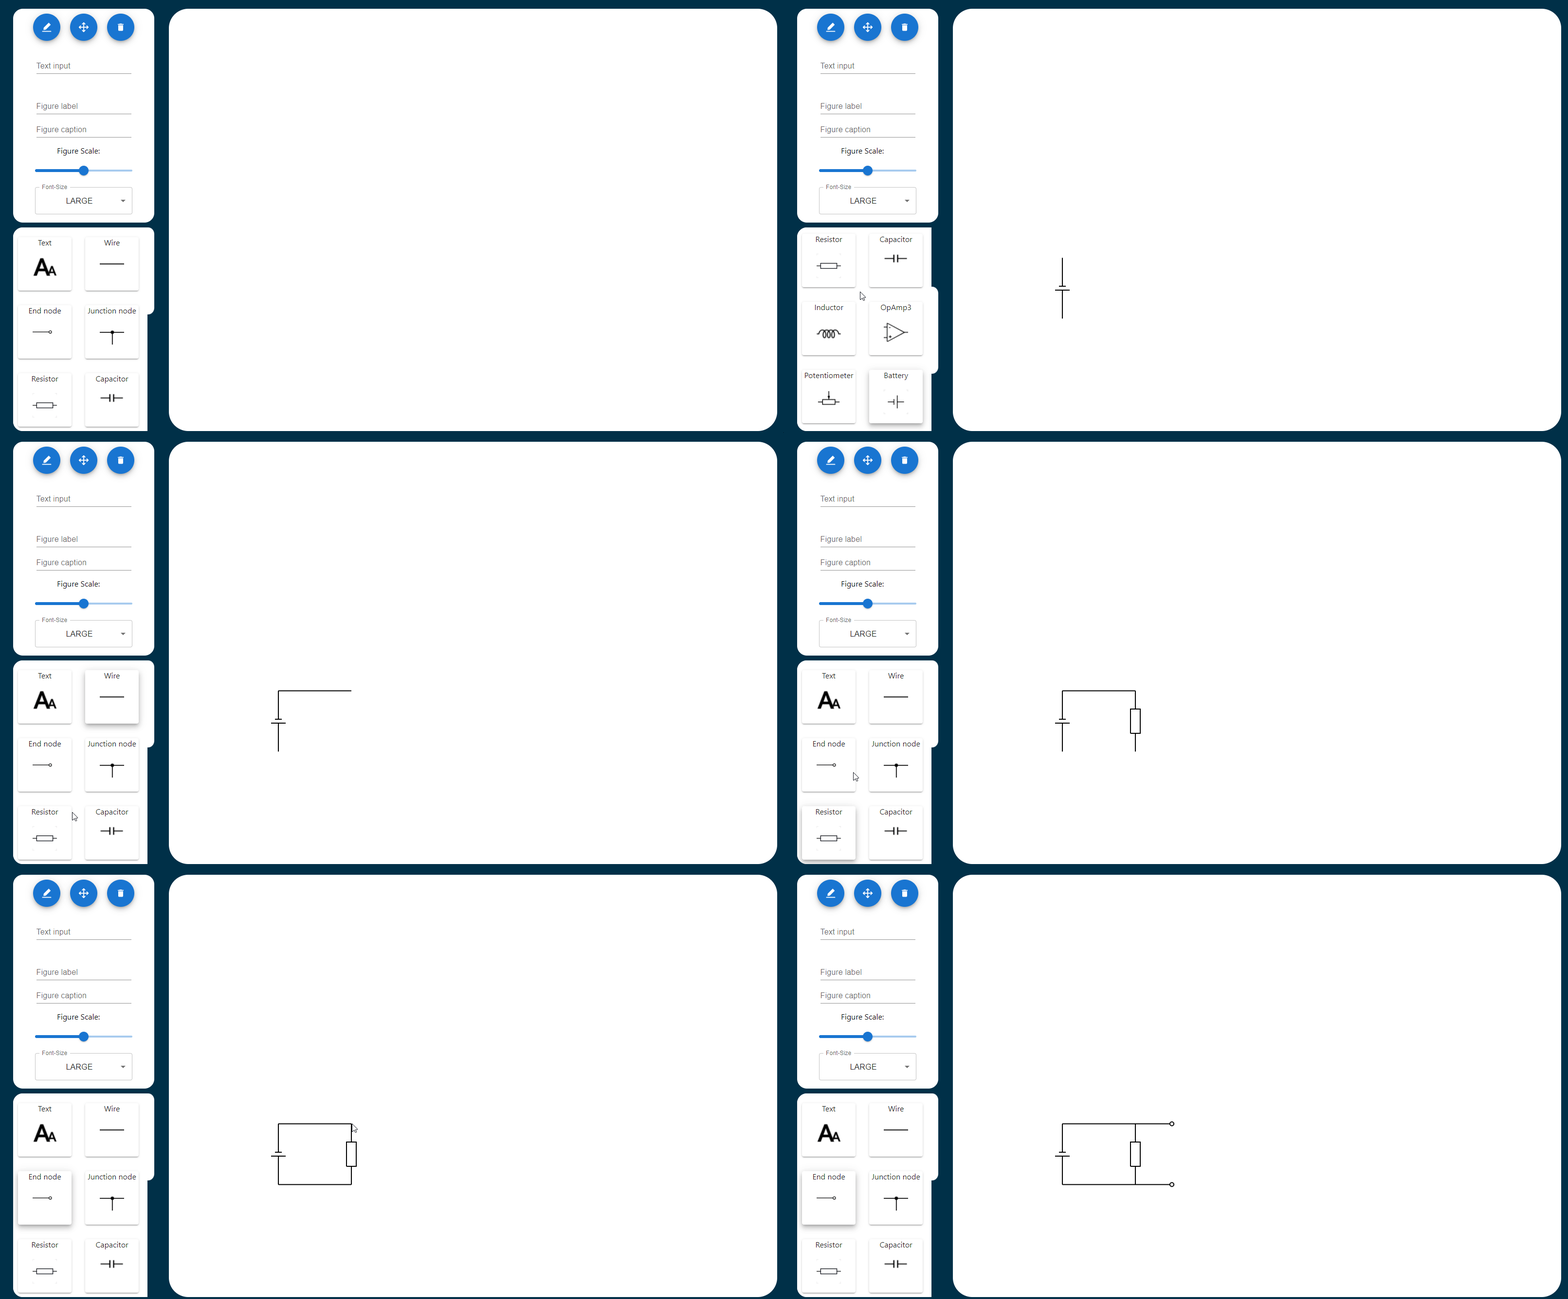
Start by choosing a component from the selector and then click and drag to the position of your choice. Hover image to enlarge it.
How to add Text to canvas
Start by choosing the text component from the selector. Then write the text you want to add into the top textfield. Then click where you want to place the text on the canvas.
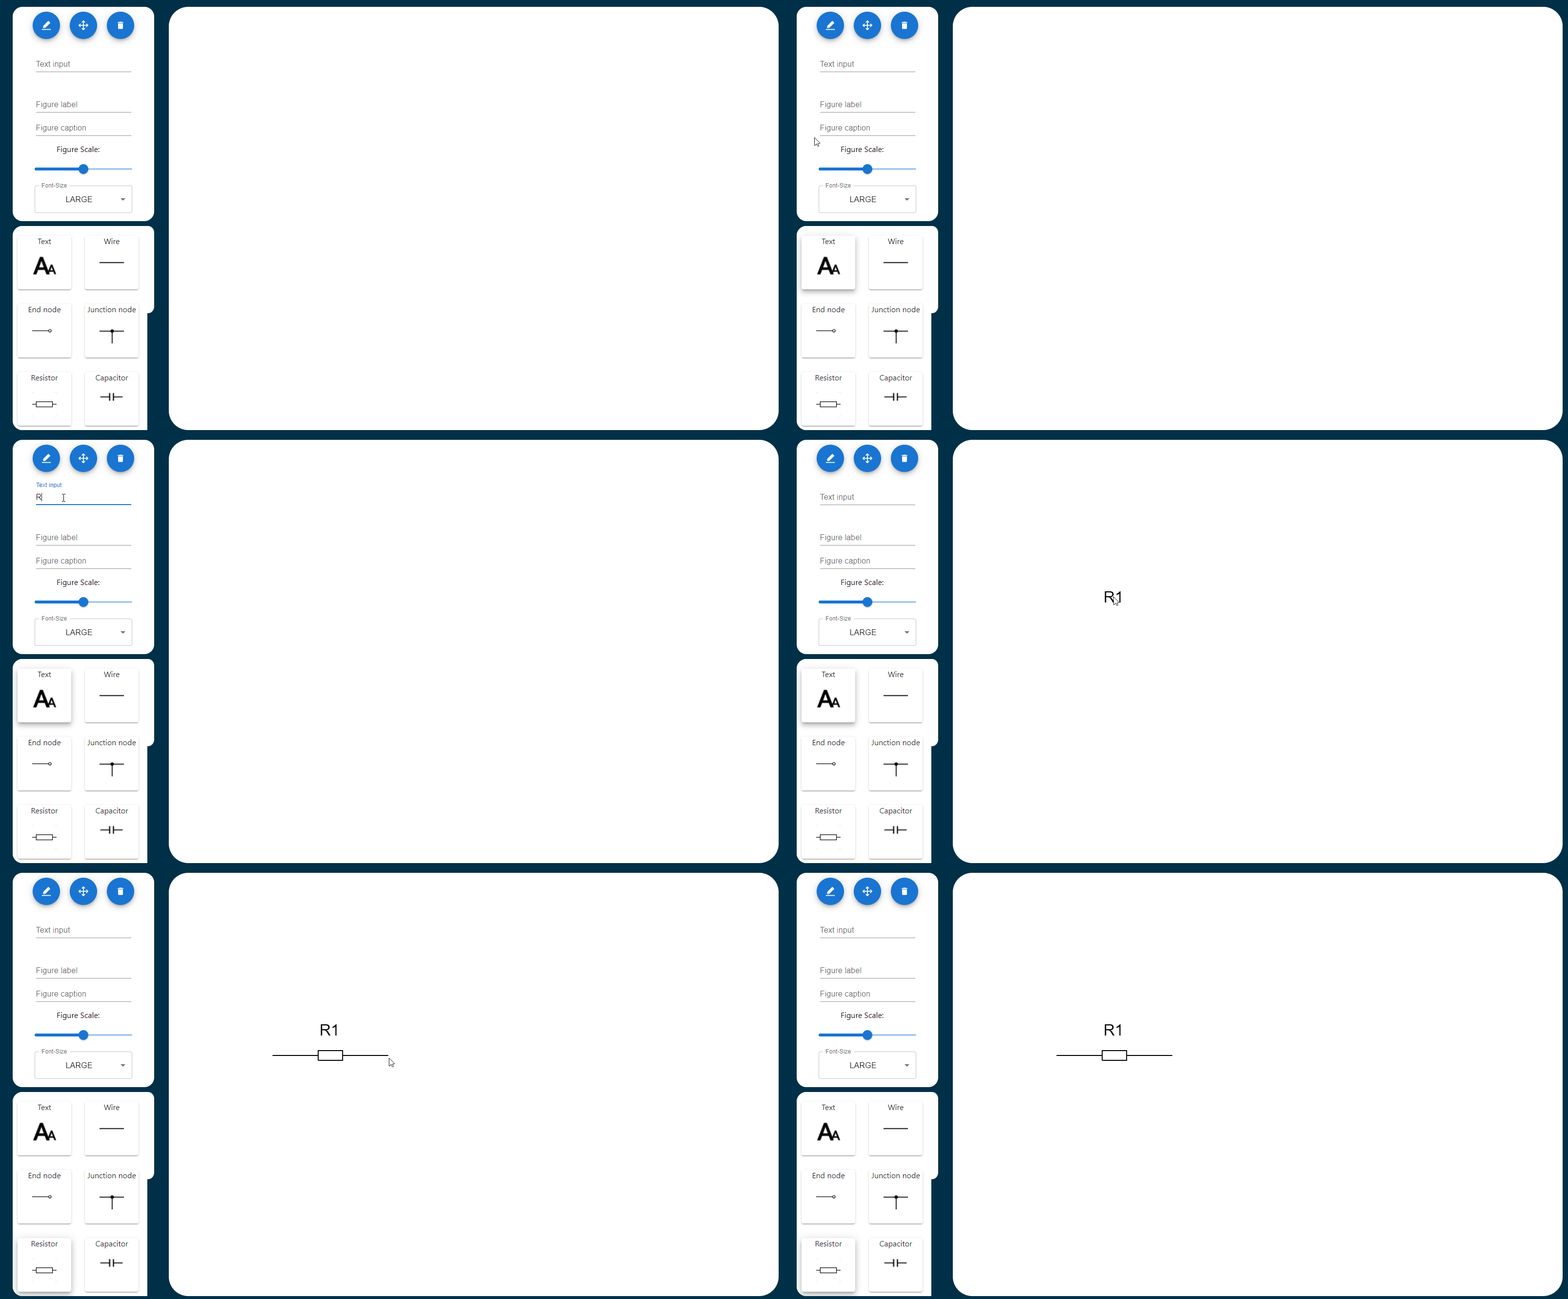
Text can also be added to components. Start by picking the component you want, then write the text in the text-input field. When you draw the component the text will follow the component.
How to add op-amp to canvas
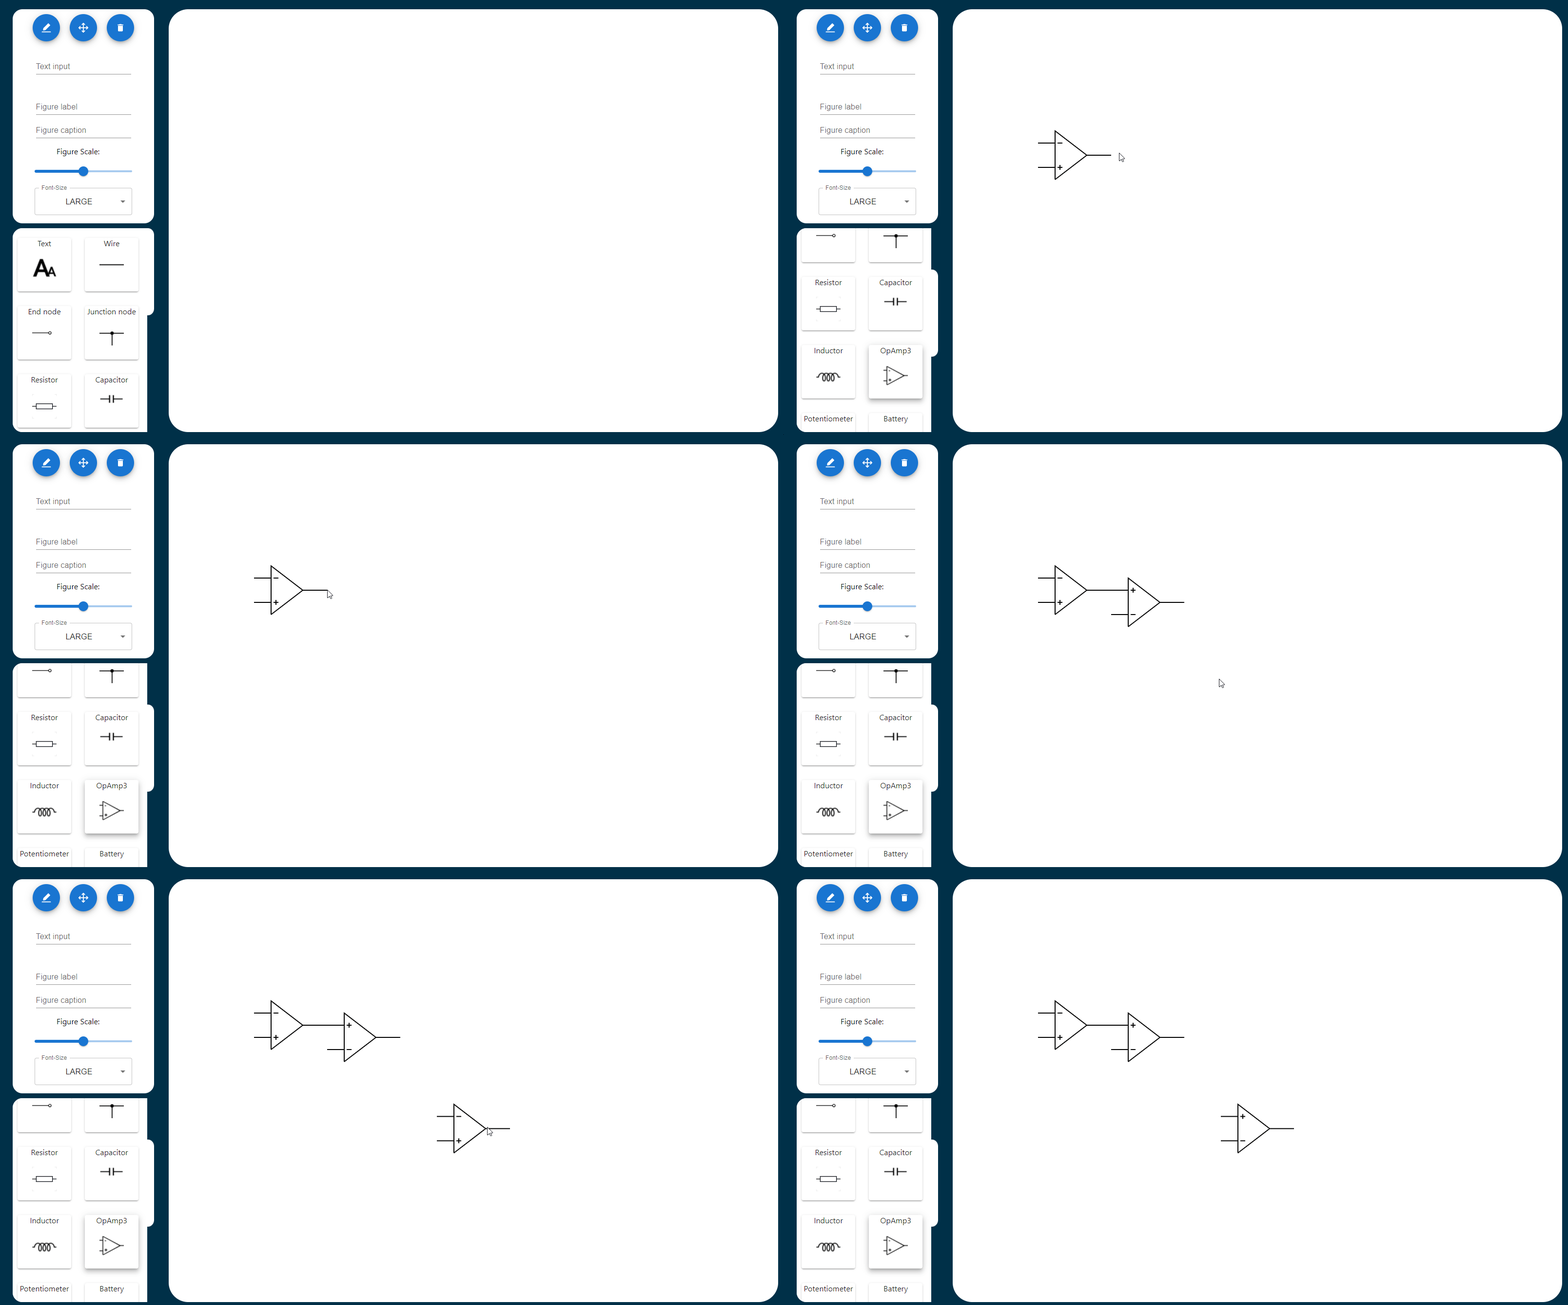
Start by choosing the Opamp3 component from the selector. Then place the cursor wherever you want the highest feet of the operational amplifier and drag in the direction you want it to face. if you want to flip the plus and minu you can easily do it by draging up or down.
How to zoom and move canvas
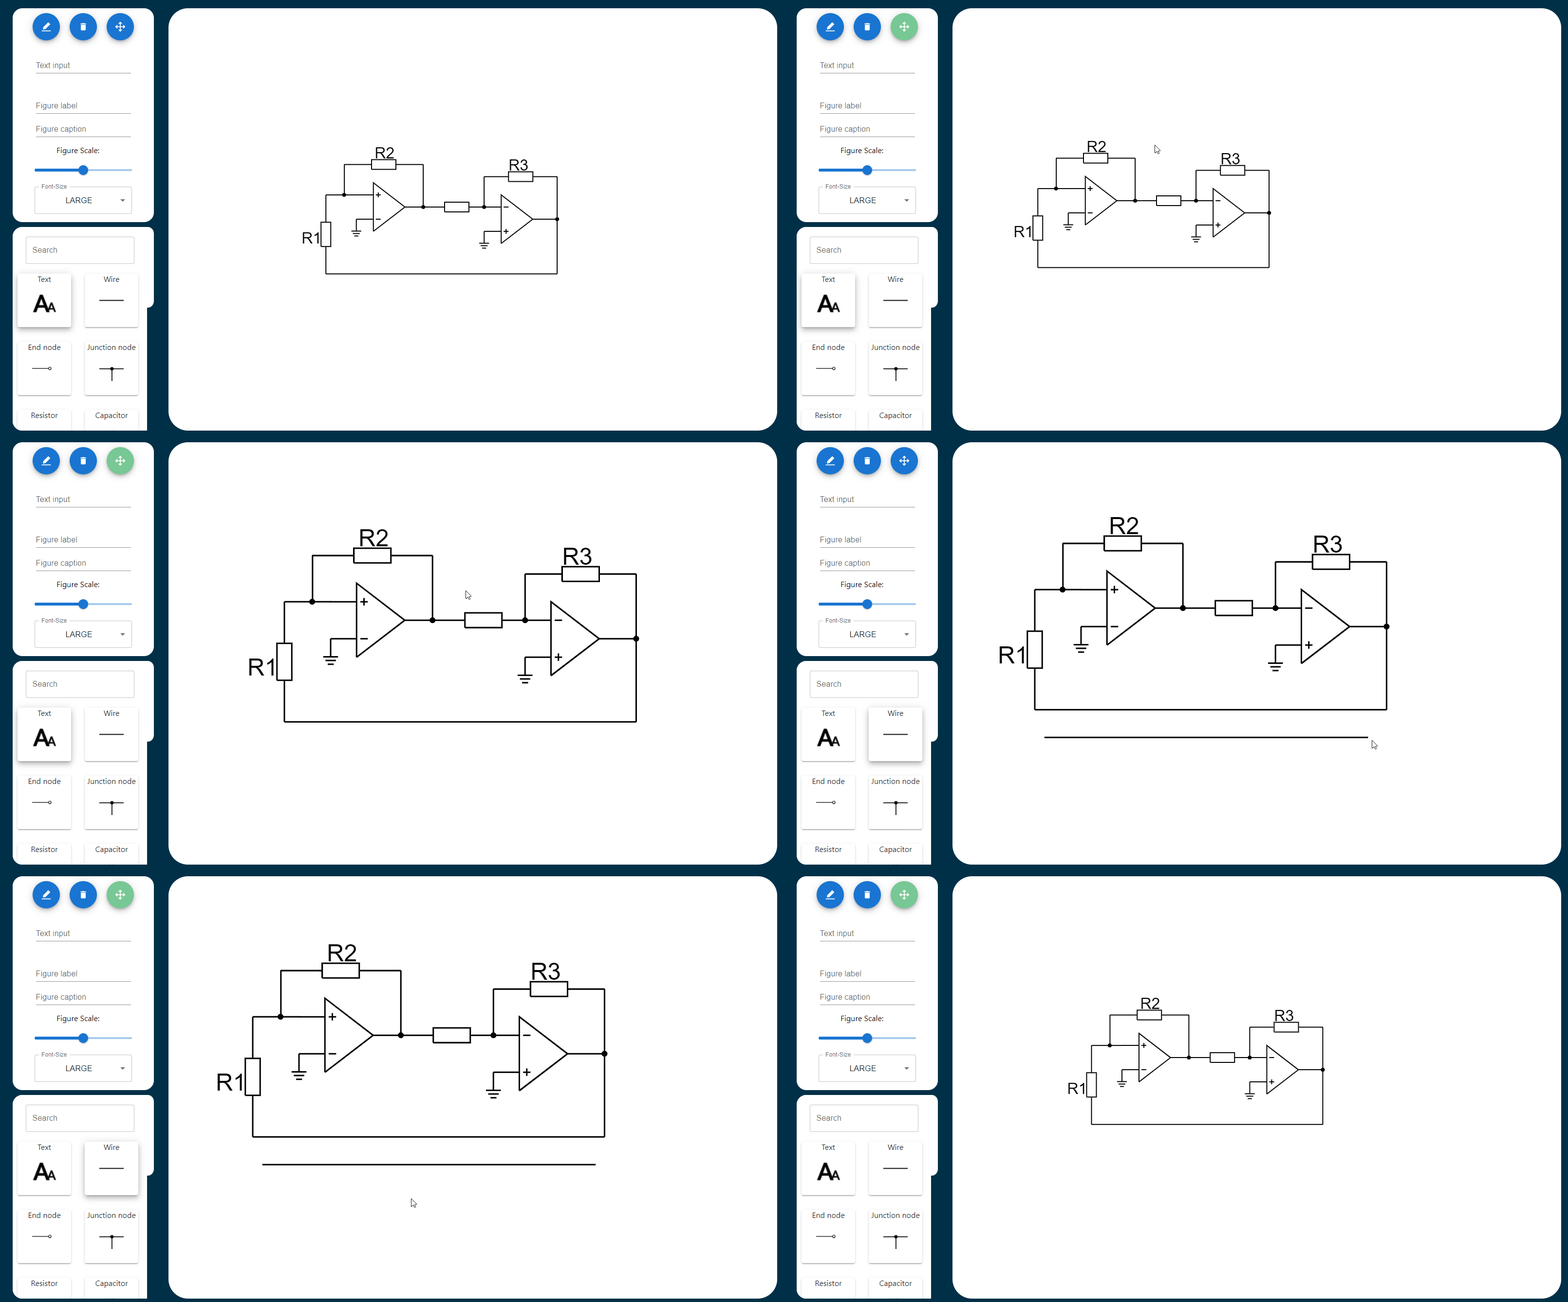
If you want to move the canvas you have to first activate MoveStage mode. This can be done by clicking the button with four arrows in the top left corner, or by using the keyboard shortcut.
To enlarge the drawing on the canvas just use the scrollwheel to zoom in and out.
How to move component in canvas
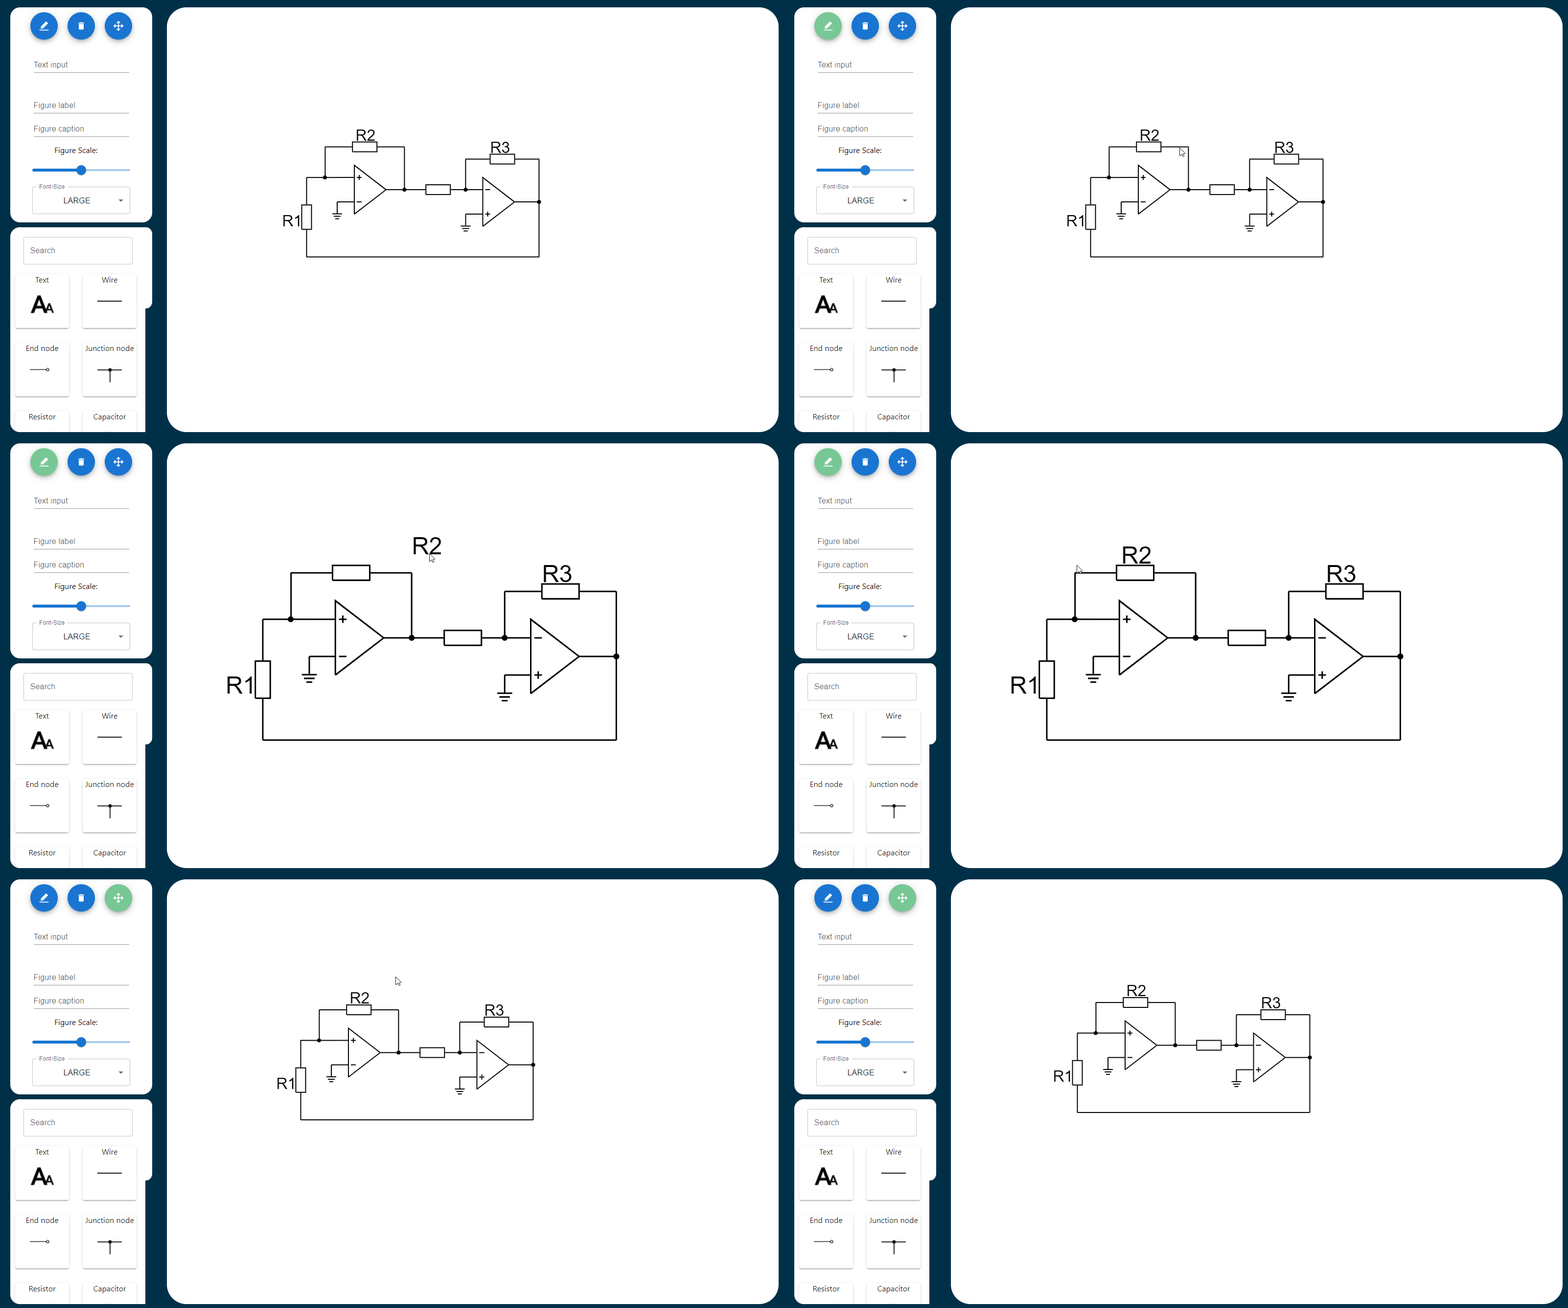
To move a missplaced component simply click the pencle icon in the top left corner to activate MoveComponent mode. This is an experimental feature and therefore still have some bugs. For instances when you move text the offset on the y-axis is off by 0.5cm
How to delete component from canvas
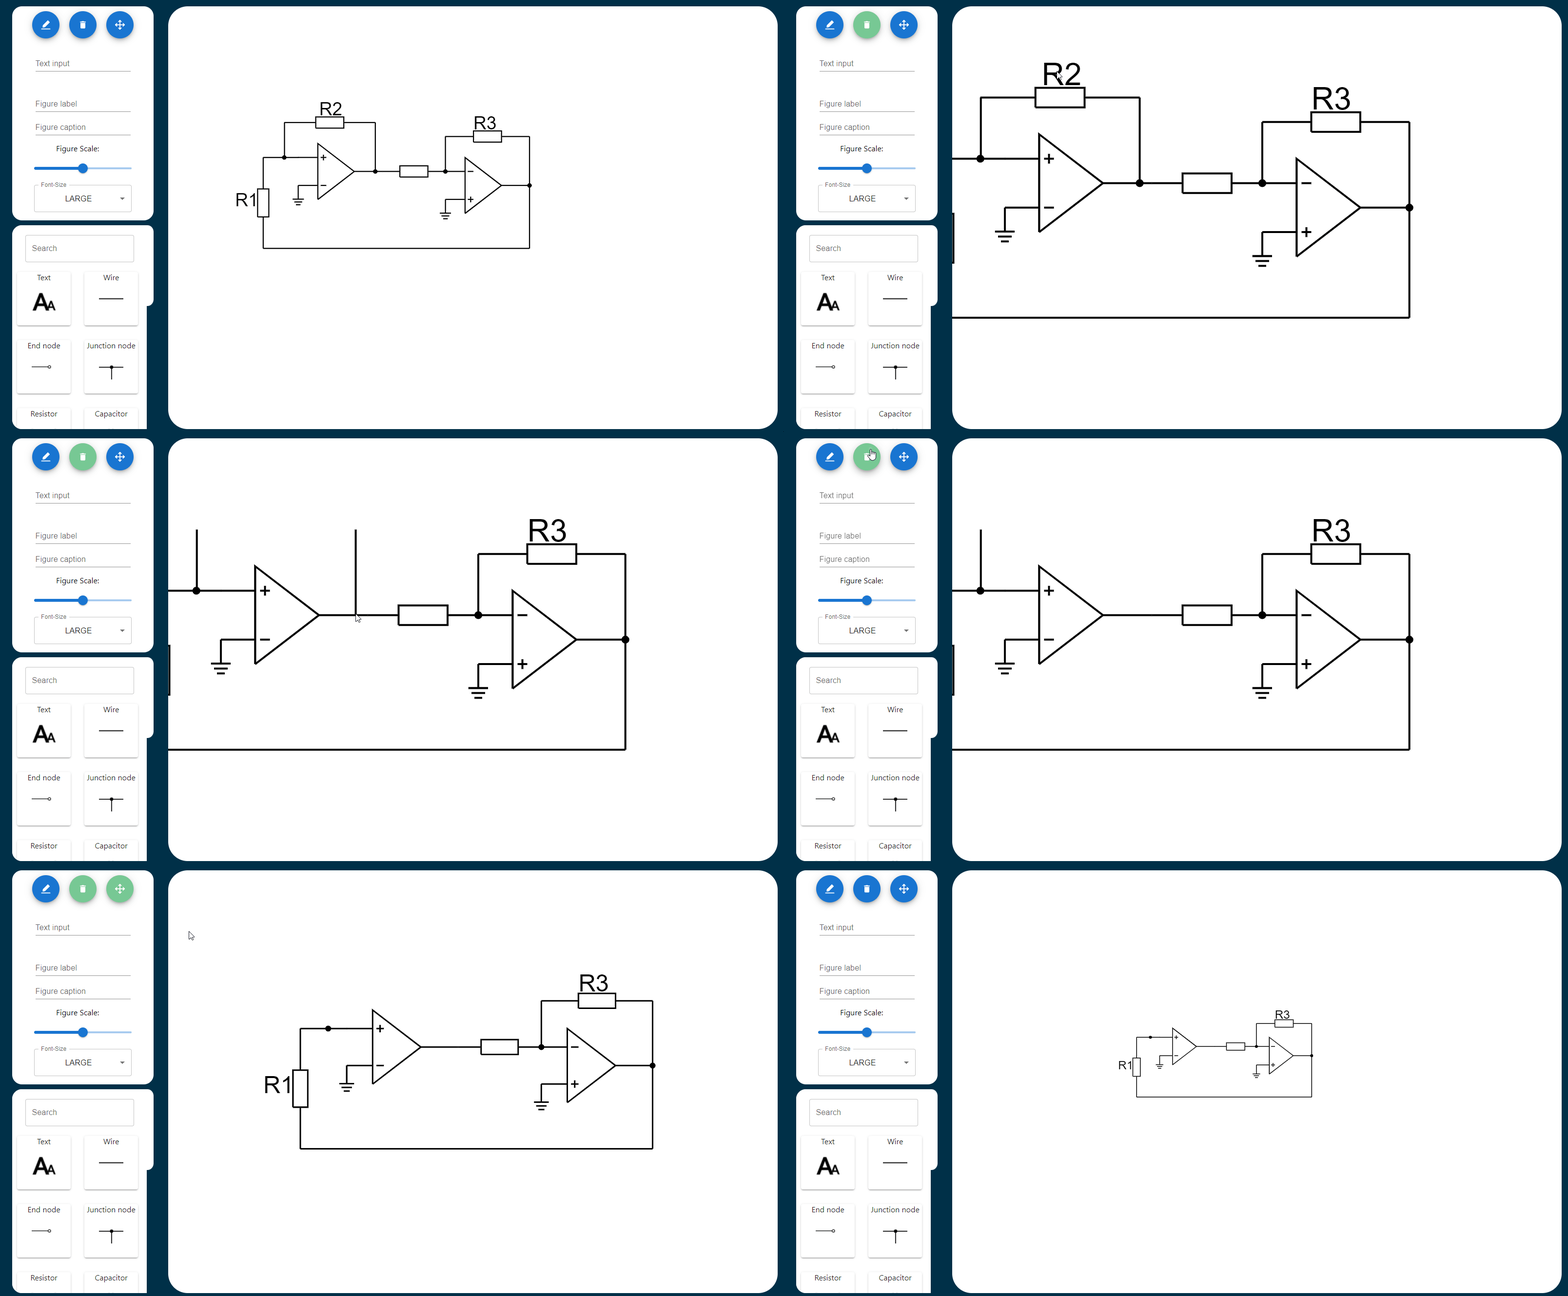
Simply click the component you want to delete while having the delete-mode active. Delete-mode can be activated ether by pressing the thrashcan symbol in the top left corner, or use the keyboard shortcut.
How to change color of component
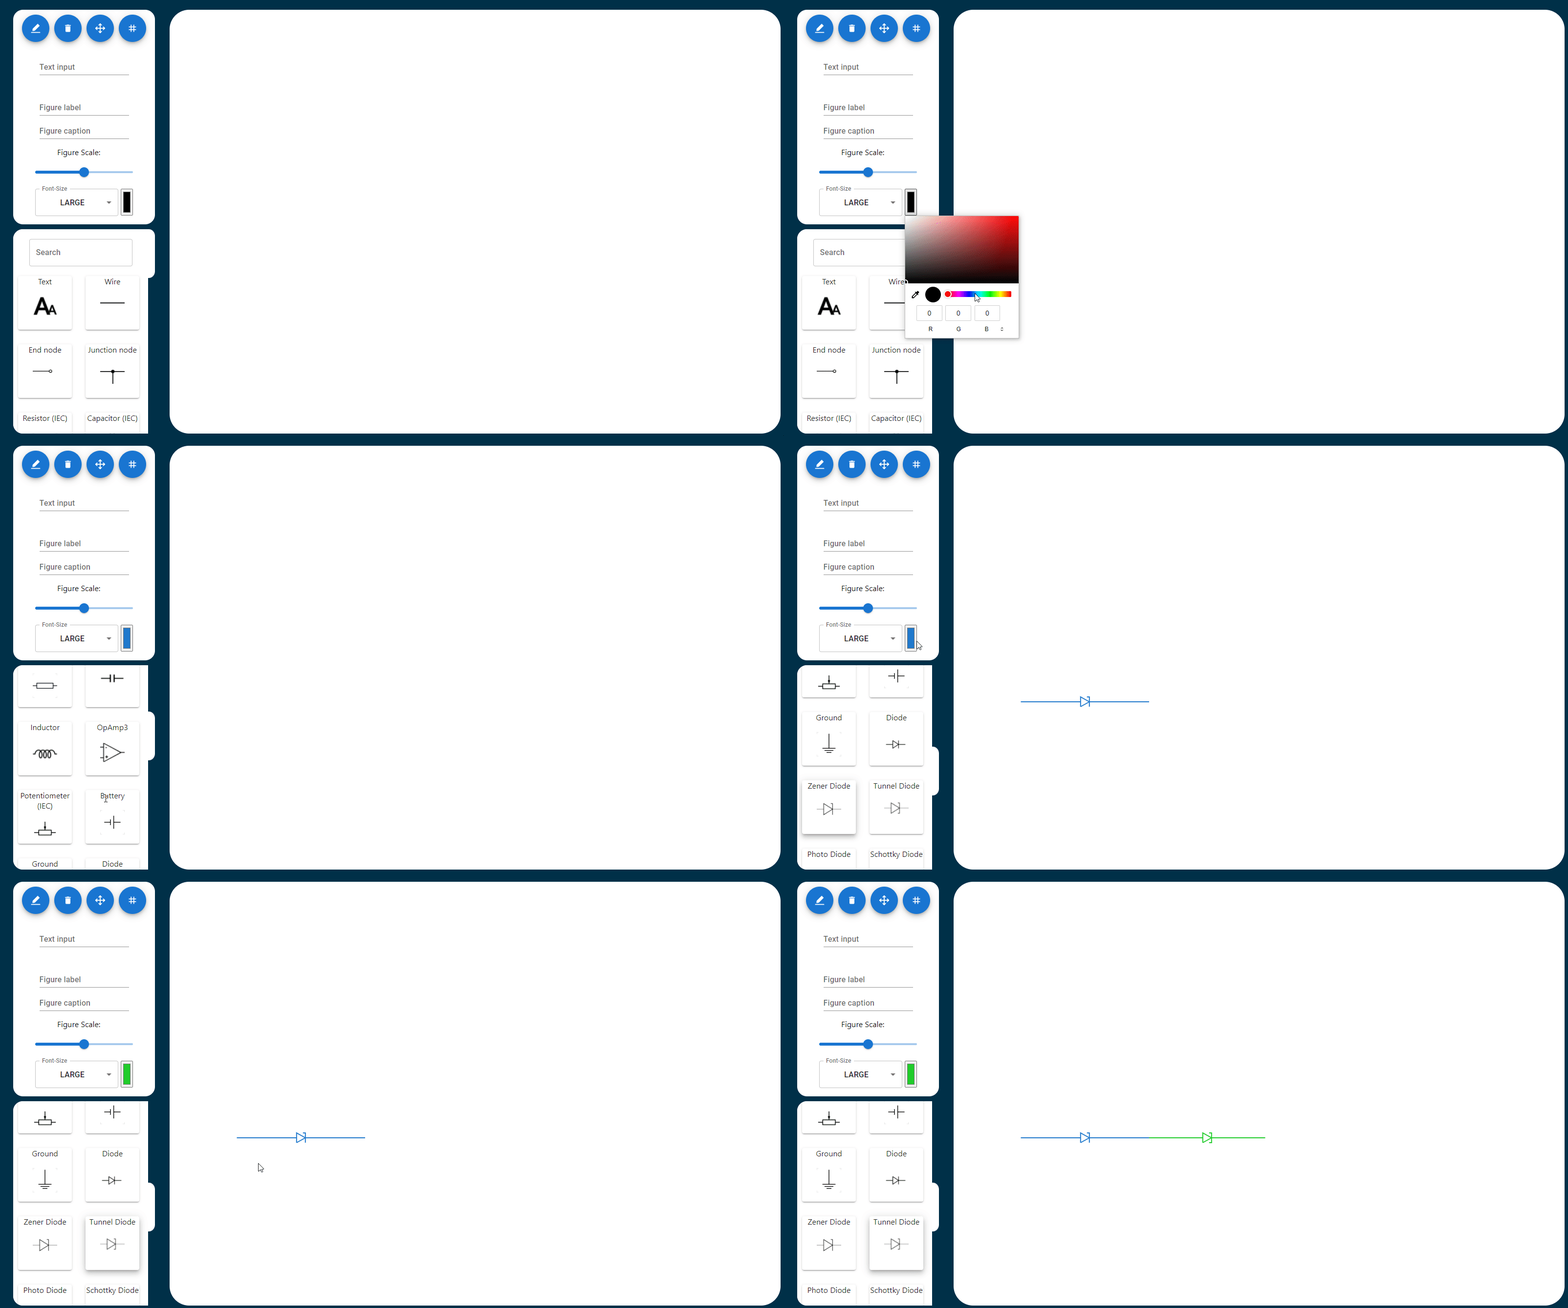
Click the color picker in the left control panel and choose the color of your choice.
How to return to original canvas size
Sometimes you can lose your drawing by zooming out, or dragging the screen too far. Instead of looking for your drawing you can simply double tap the move stage icon to return to the starting position of the canvas.
How to Save and upload files
To save your work you can click the download button in the bottom right corner of your screen. The file name given to your file will be Tikz Maker.text if not specified in the Text input section.
To upload a file click the upload file button at the bottom left of the screen. A popup will show up and you can choose the desired file.
Shortcuts
Nearly every action has a keyboard shortcut. Listed below are all the shortcuts that have been implemented yet. Do you miss a shortcut? Please do not hessitate to make contact thru the Contact tab in the navigation bar.